Your Profile & Privacy
Set up your ForensicCrash profile and choose who sees what: address, photo, contact details, search visibility, privacy, contact card, and specialties.
2:45 · Watch on YouTube
Step by step
Part 1: Your address
1. Open your dashboard.
Click your name at the top right and choose Account Tools.
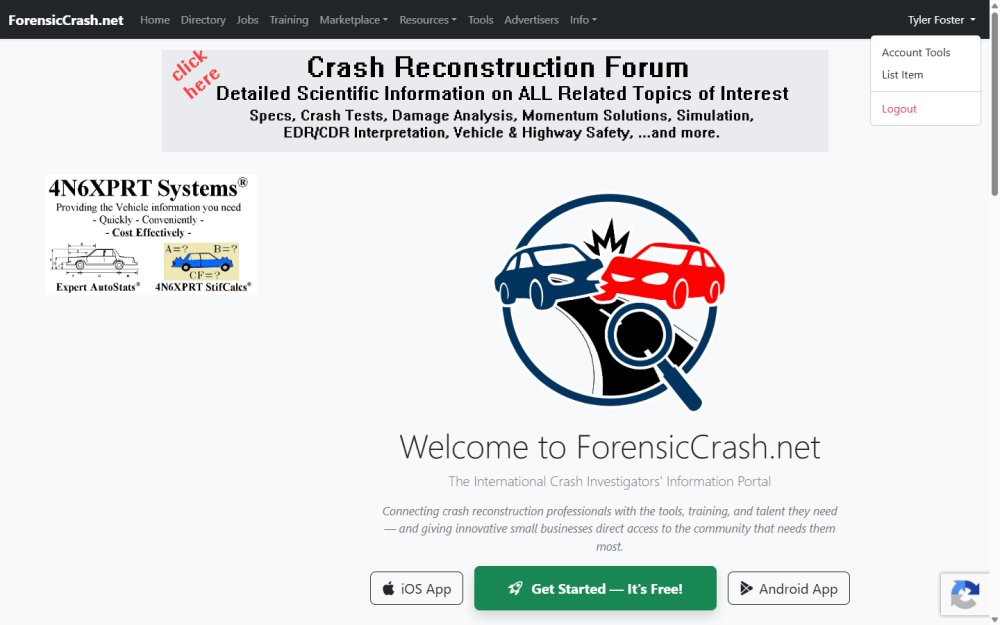
2. Click Edit Location on the Current Geo-Location Status card.
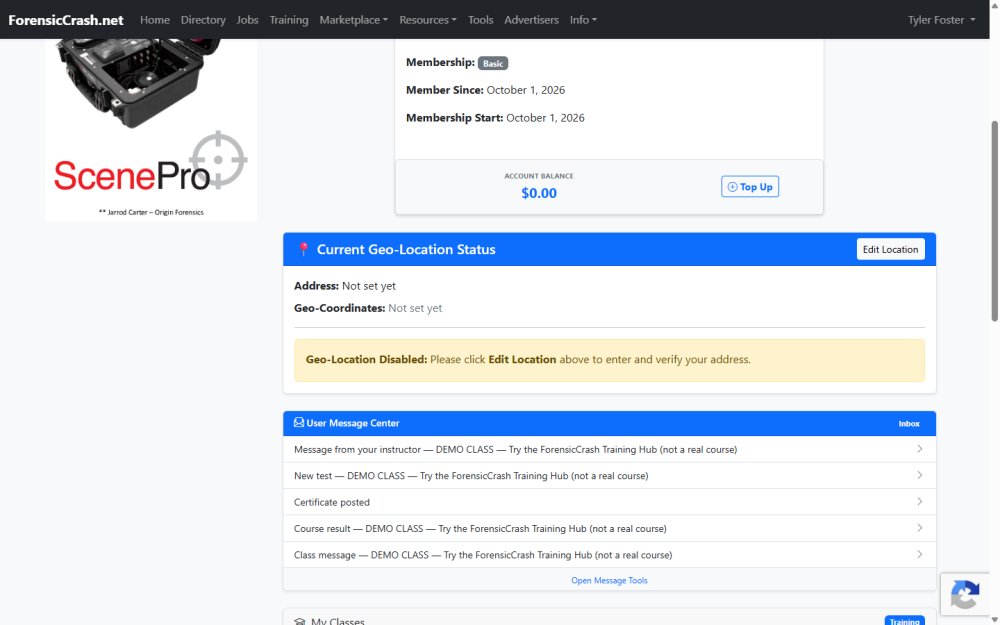
3. Type your address and pick it from the list. Google checks it as you choose it.
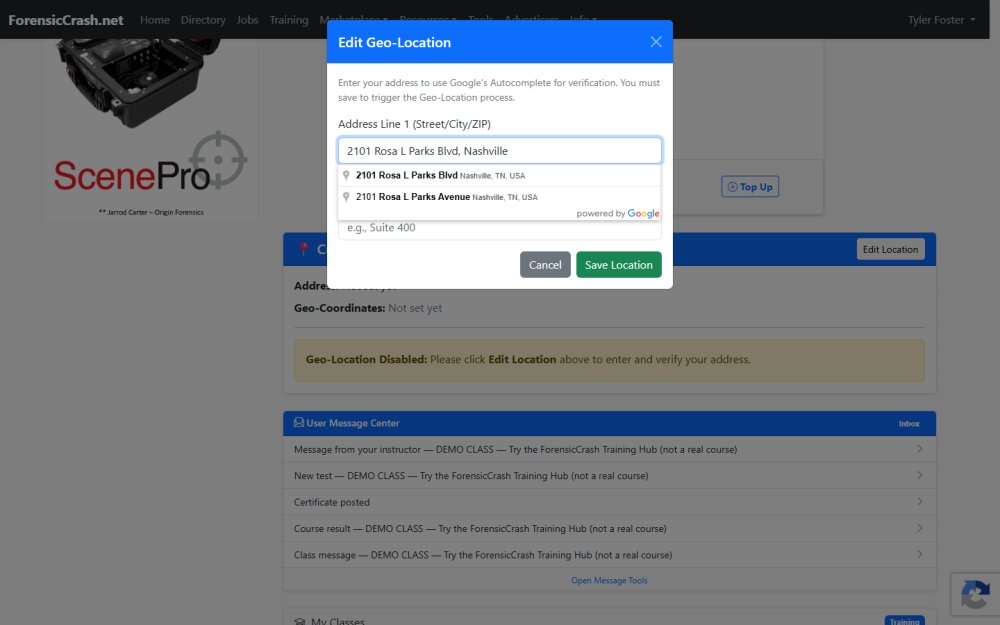
4. Click Save Location. The page reloads.
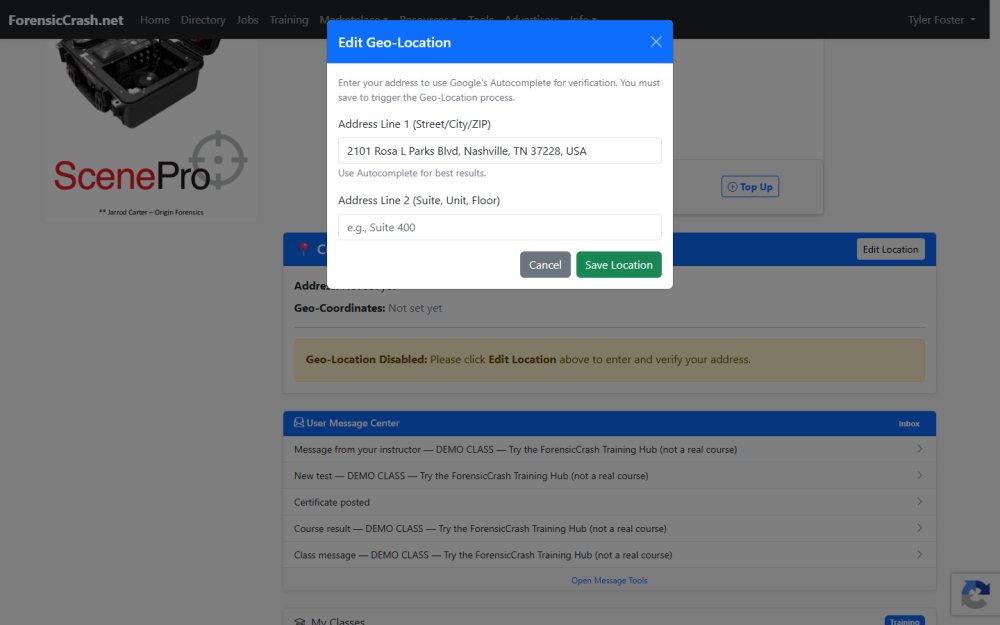
5. Your address and map now show on your dashboard. Only you see this card. You decide below how much of your location other people see.
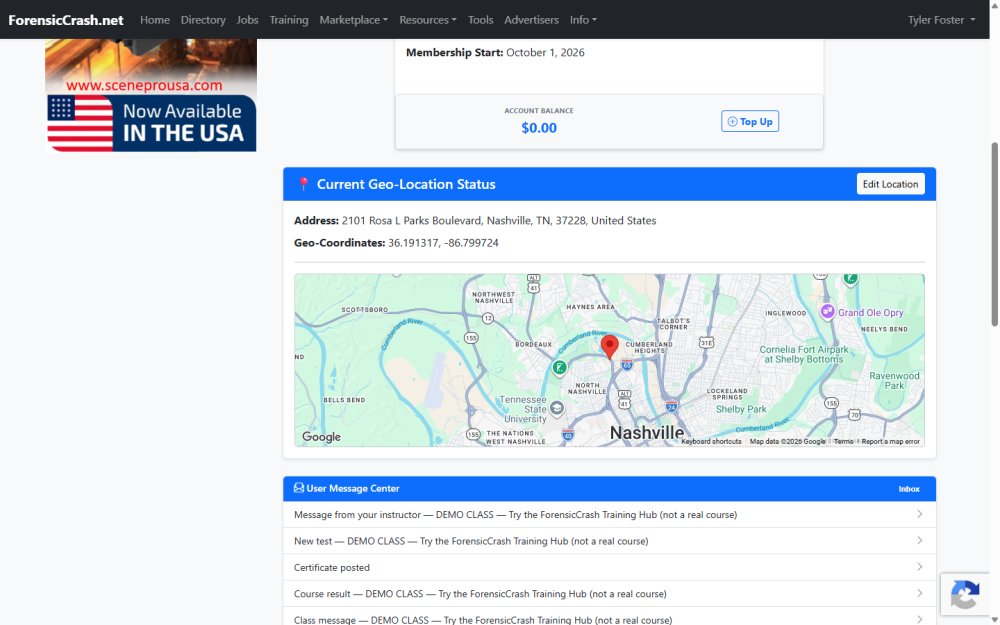
Part 2: Your profile details
6. Click View / Edit Profile on the Directory Profile and Profile Image Uploads card.
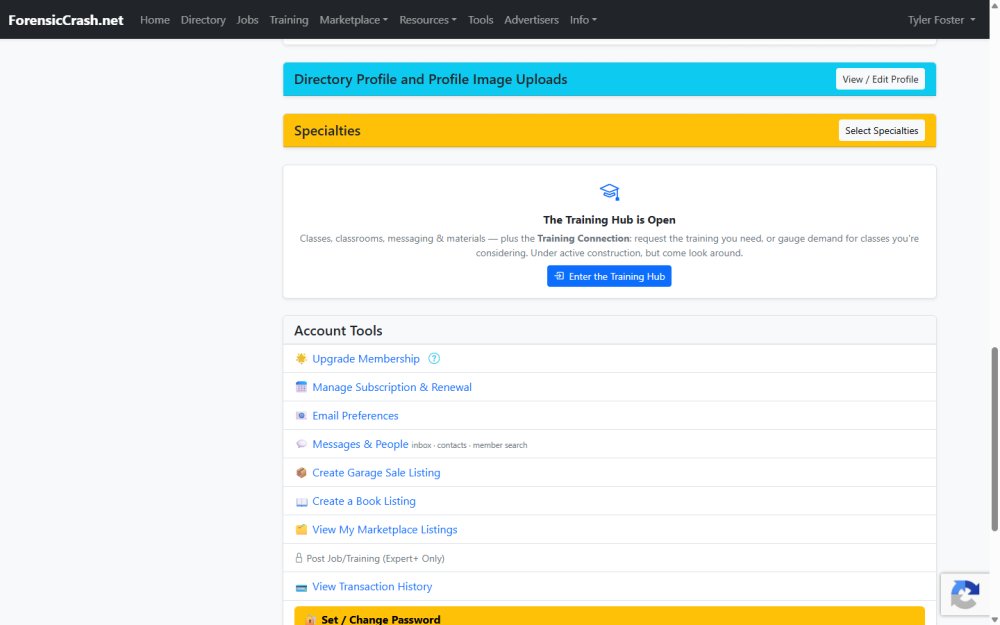
7. Add a photo so colleagues recognize you. It also appears on your Quick Share contact card.
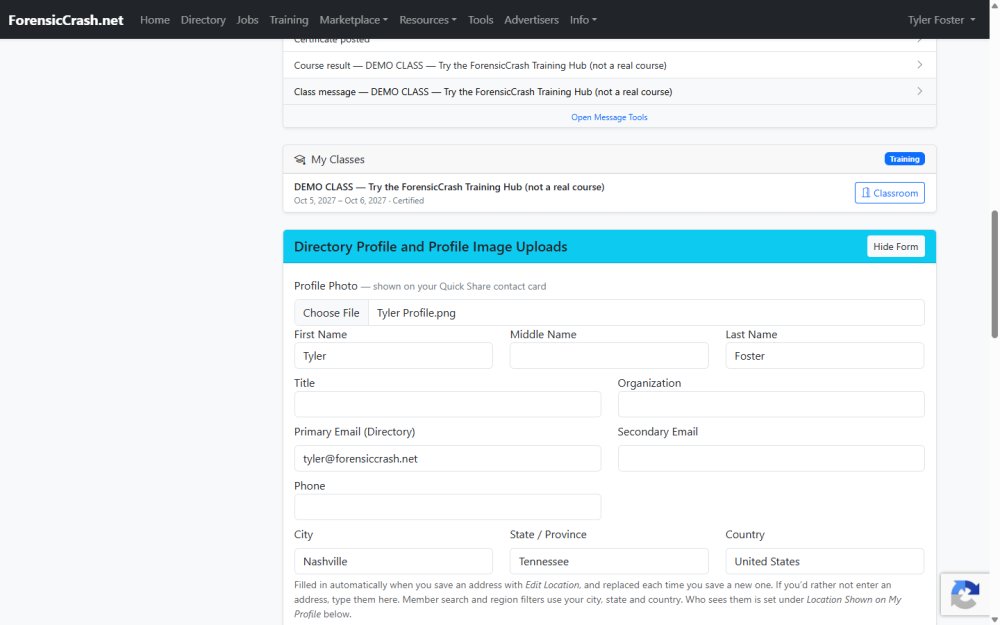
8. Add your title and organization.
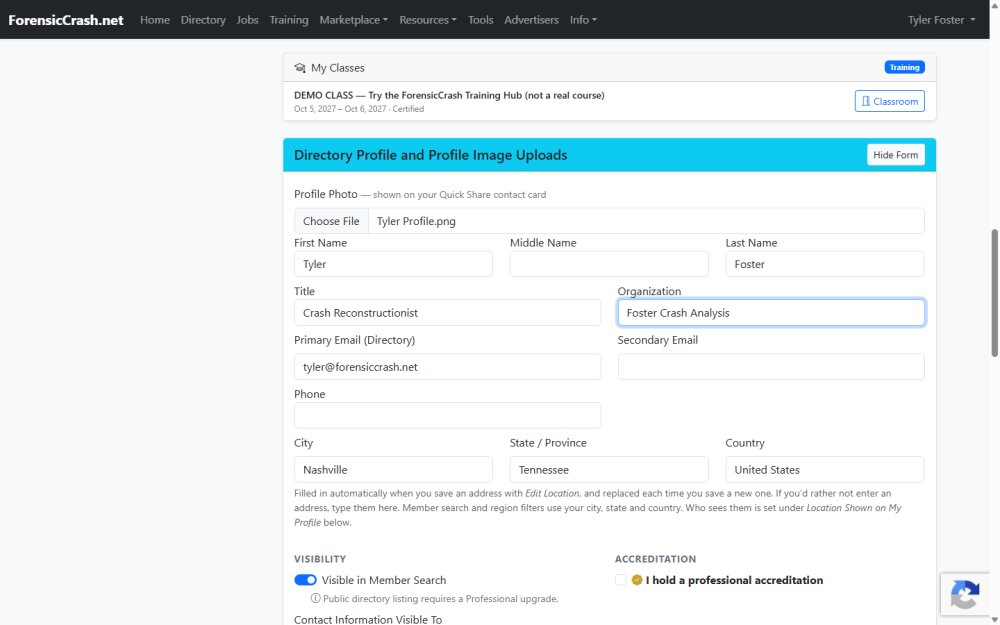
9. Add a phone number if you want members to be able to call you.
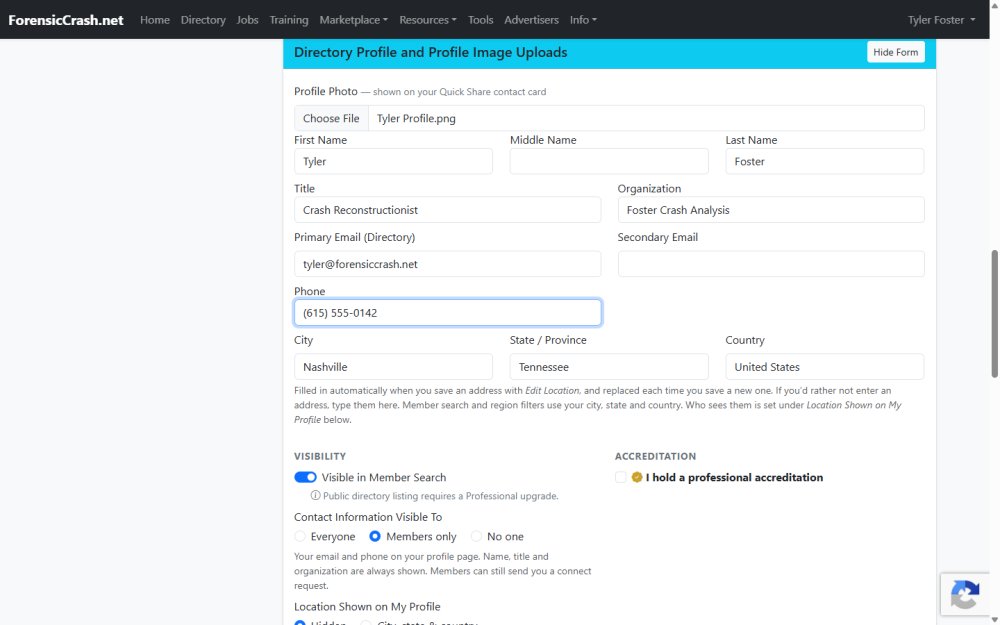
10. City, state and country fill in automatically from the address you saved in step 4, and change whenever you save a new address. If you'd rather not enter an address, type them here. Member search and region filters use them.
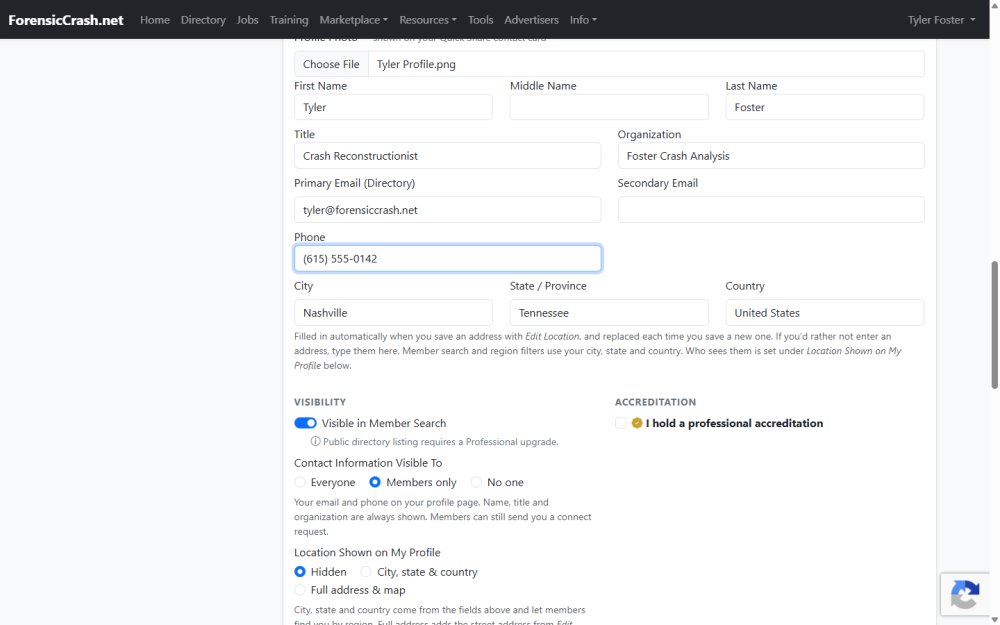
Part 3: Privacy choices
11. Visible in Member Search lets colleagues find you and send you a connect request. Leave it on to be found.
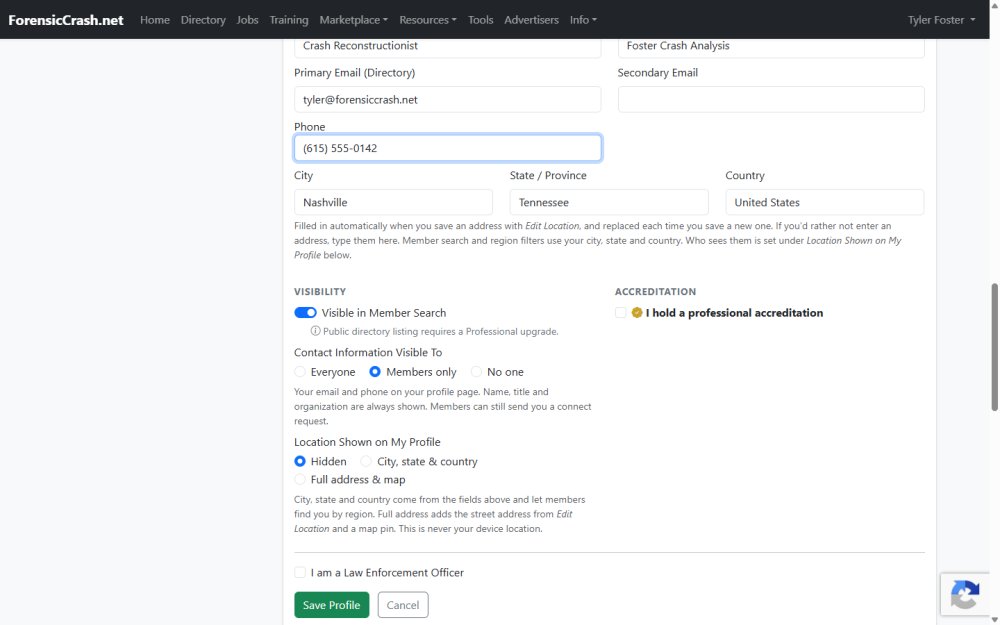
12. Contact Information Visible To sets who sees your email and phone on your profile page:
- Everyone: visitors and signed-in members
- Members only: signed-in members
- No one: nobody but you
Your name, title and organization are always shown, and members can always send you a connect request.
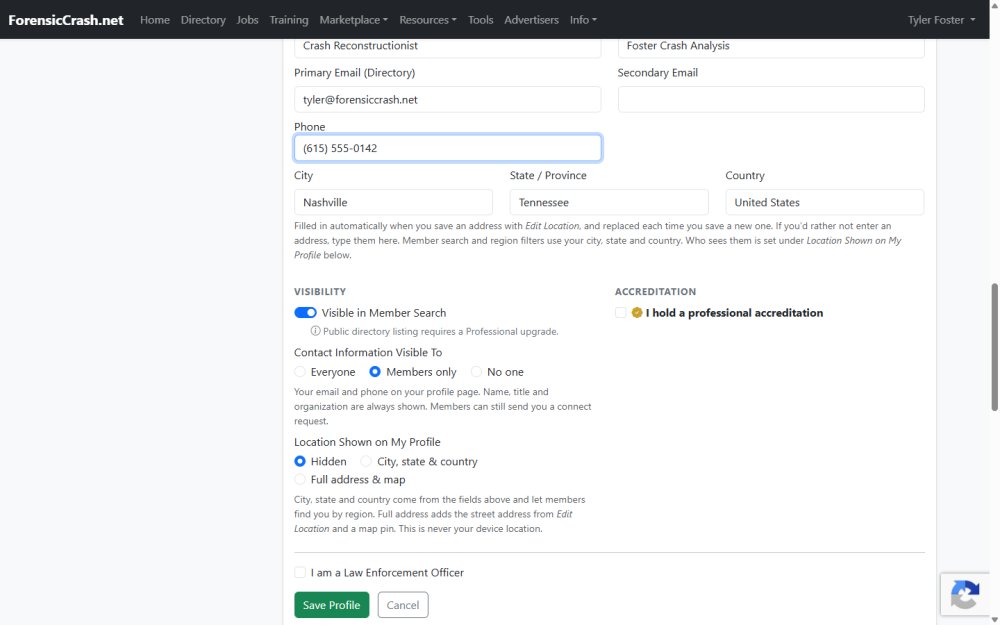
13. Location Shown on My Profile sets how much of your location people see:
- Hidden: your country only
- City, state & country
- Full address & map: adds your street address and a map pin
It never uses your device's location.
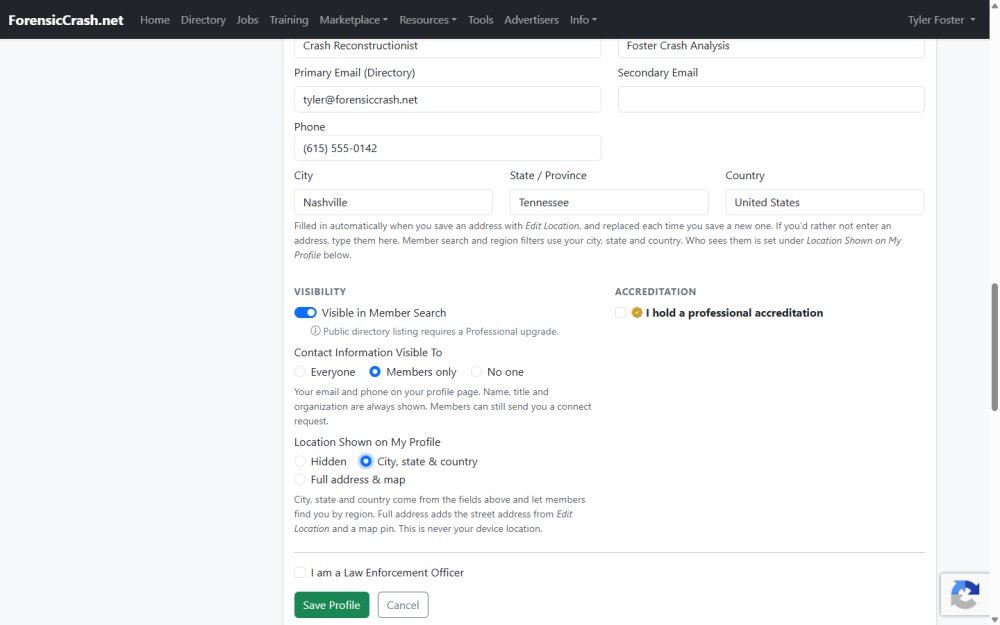
14. Accreditation. If you hold a professional accreditation, tick I hold a professional accreditation and add the accrediting body and your number.
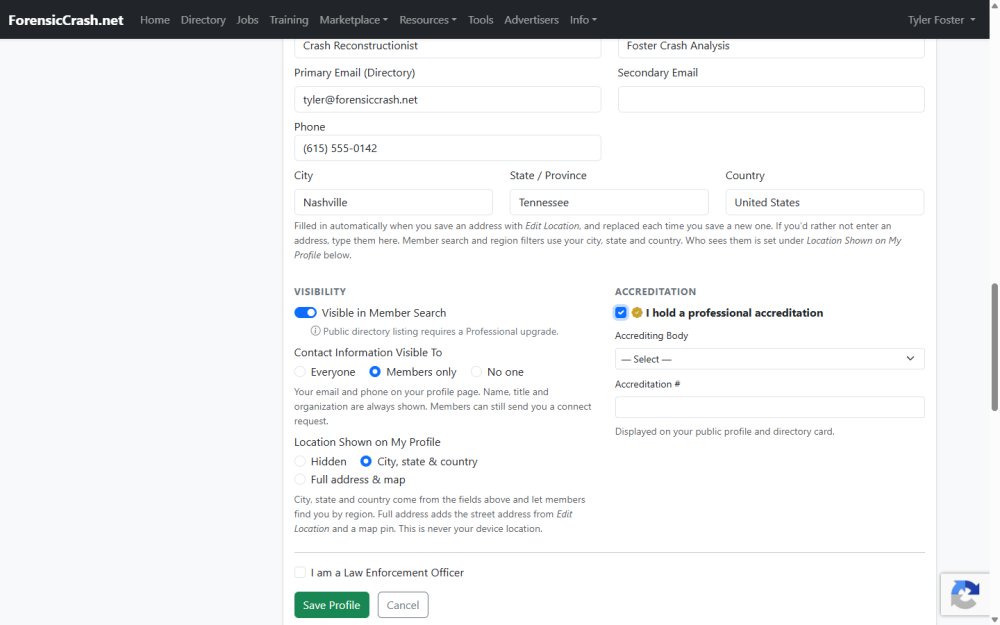
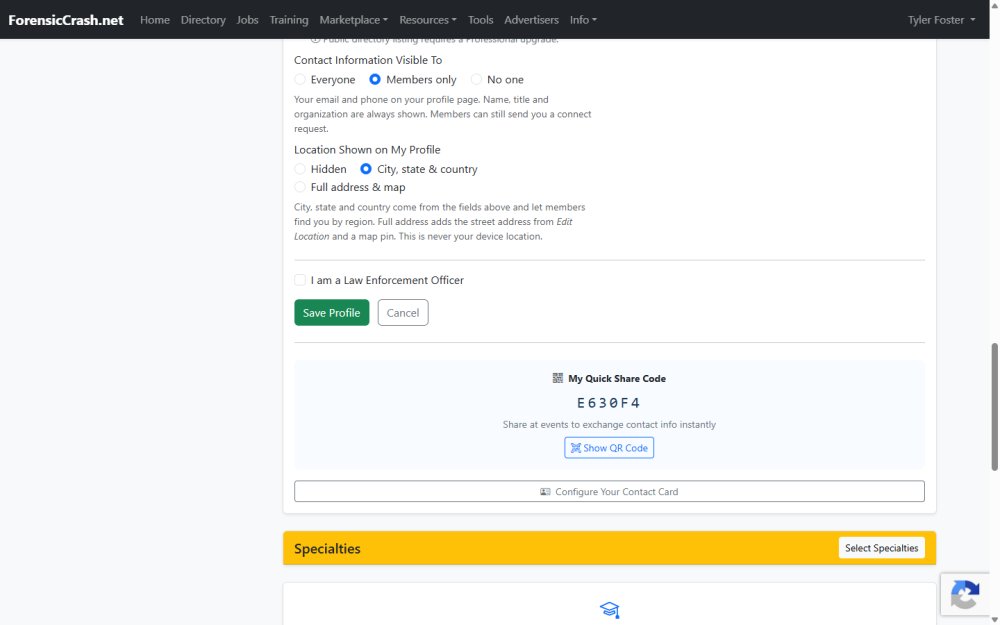
15. Click Save Profile.
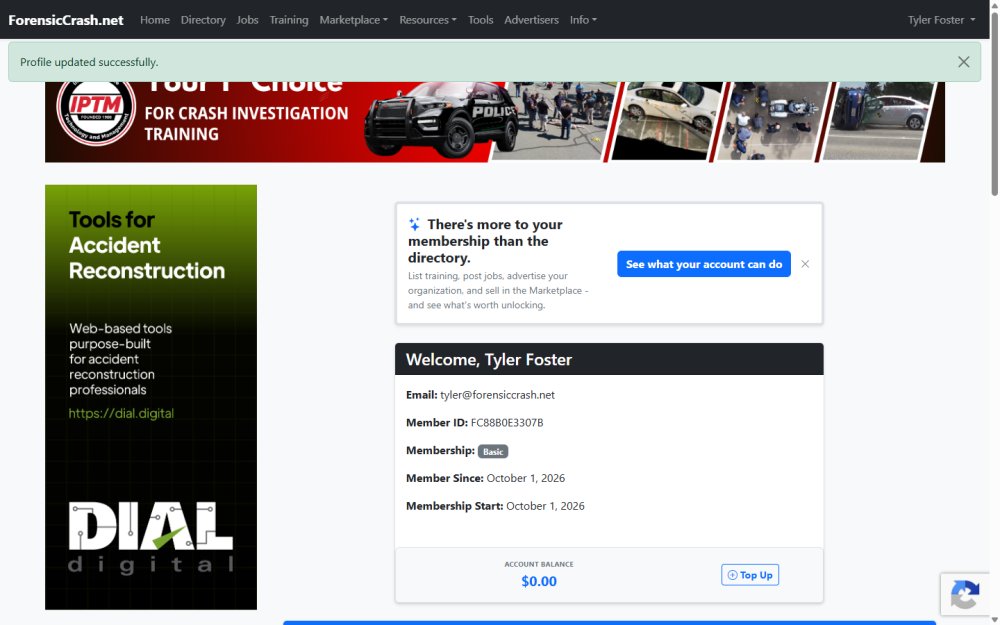
16. Profile updated successfully confirms the save.
Part 4: Contact card and specialties
17. Configure Your Contact Card sets what you hand out with Quick Share. Name and email are always on it; tick the rest and click Save Card.
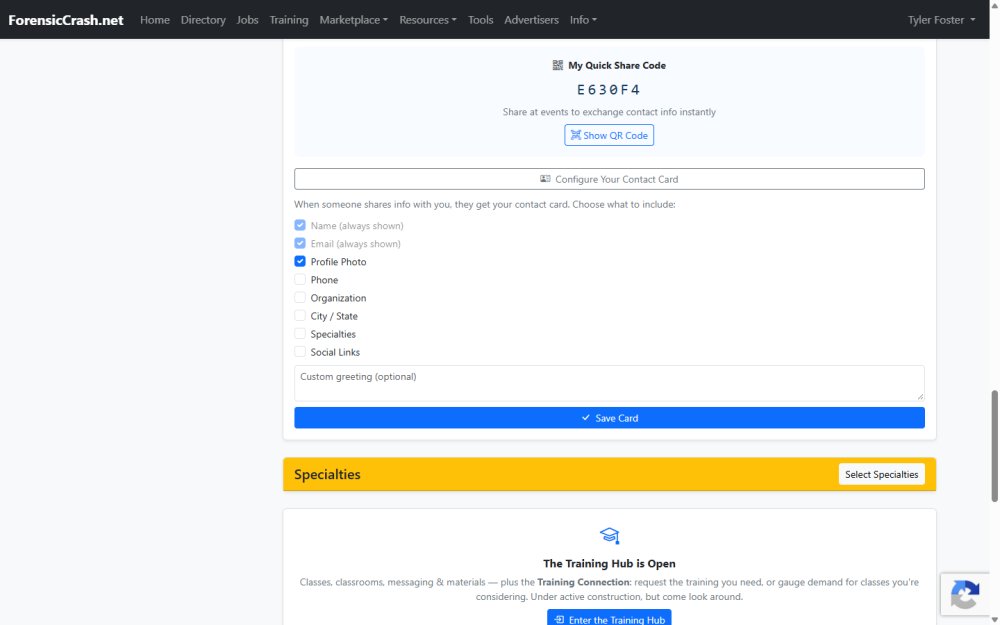
18. Click Select Specialties on the Specialties card.
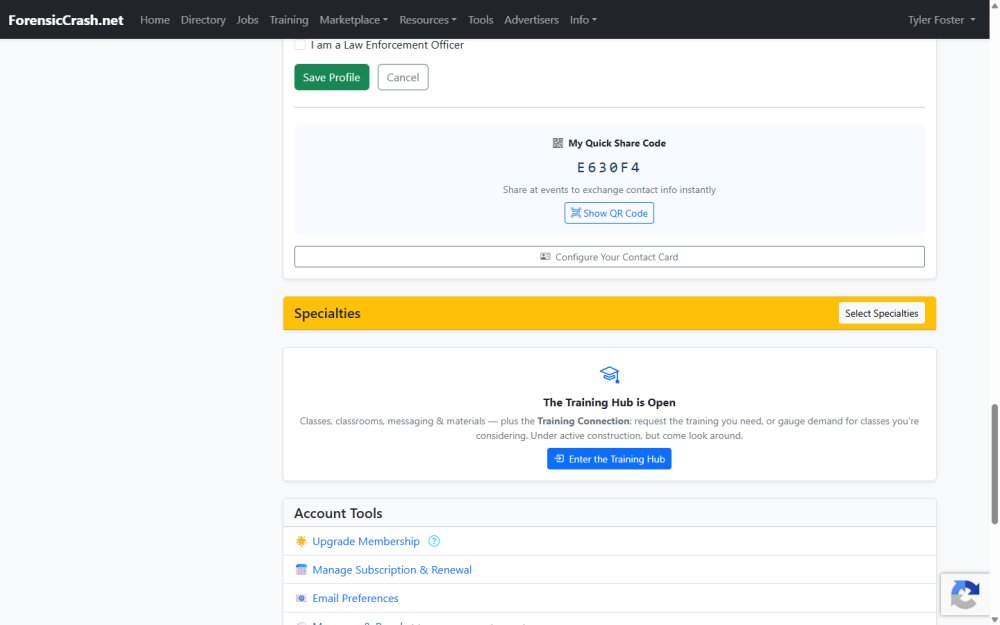
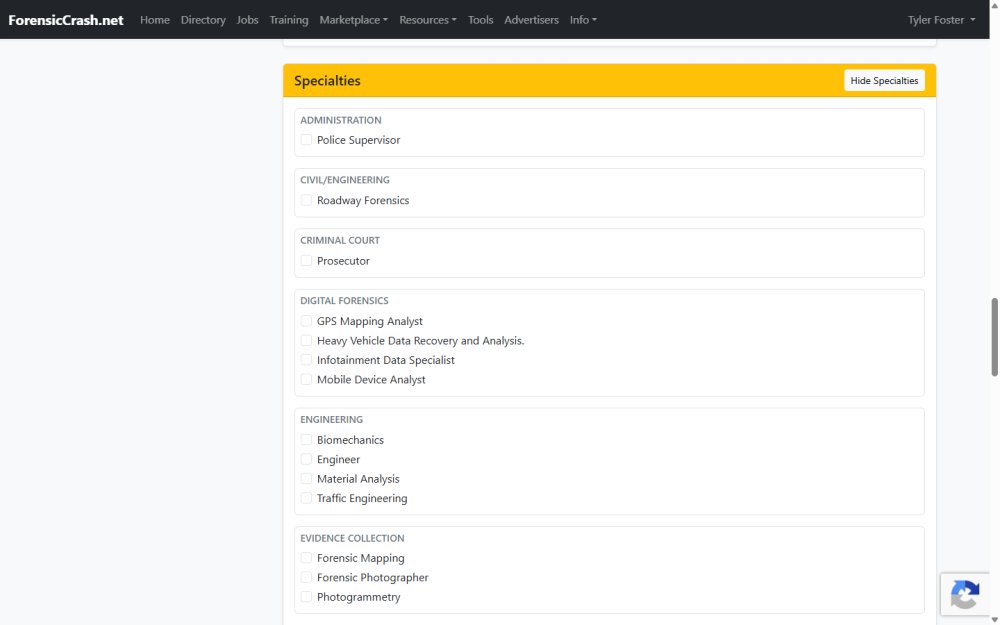
19. Tick the specialties that fit and save. Members searching a discipline find you by them.
Good to know
- Your public profile page and the public directory listing come with a Professional or Expert membership. Until then, other signed-in members find you through Member Search.
- New here? Start with Getting Started.